
In a previous post about creating a web3 app, we showed how to create a project from scratch and connect the application to a wallet like MetaMask. Those steps are essential if you want to go further with developing a web3 app.
You’ll need to go over the next two phases to have a valid app:
- read from the blockchain
- write on the blockchain
Below, you’ll find out what each of these two steps implies.
Smart Contract Functions – How to Read from The Blockchain
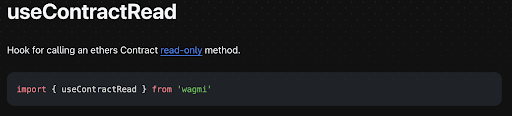
Reading from the blockchain is easier than it sounds. If you use the hooks from the Wagmi library, you can easily read data. The hook called “useContractRead” accepts multiple parameters, like:
- the address of the contract
- the contract interface (ABI)
- the method you want to call inside the contract
- many other optional parameters
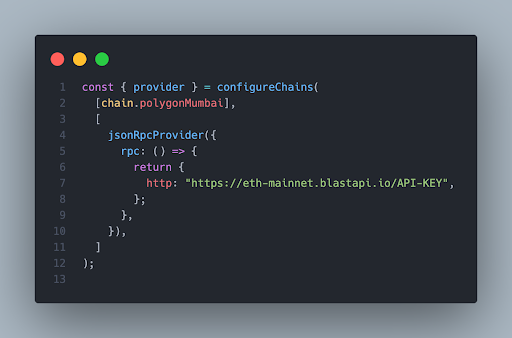
For this tutorial, I deployed a very simple contract on Polygon’s Testnet called Mumbai. You can find the contract here.
Because the contract is on a different chain than the one I set the app config to, I made a small change and modified the chain from “mainnet” to “polygonMumbai” on the second line.
Now I have a contract that I can read from. The next step is to get the ABI (Application Binary Interface). ABI is basically a JSON that defines specific methods to execute a smart contract like:
- how the contract functions are called
- what parameters do these functions need
- what these functions return
I used Etherscan to get the ABI specification:
- Go to mumbai.polygonscan.com and search for the contract.
- Select the Contract tab.
- Scroll to the bottom until you find the “Contract ABI” section.

4. Export the ABI as a JSON or copy the contents and put it in a JSON file.
I usually create a “utils” folder in the root of the project that creates an “abis” folder to put all the ABI files here. Most times, you’ll work with multiple contracts, so you’ll need an accessible place to include all the small snippets you use throughout the application.
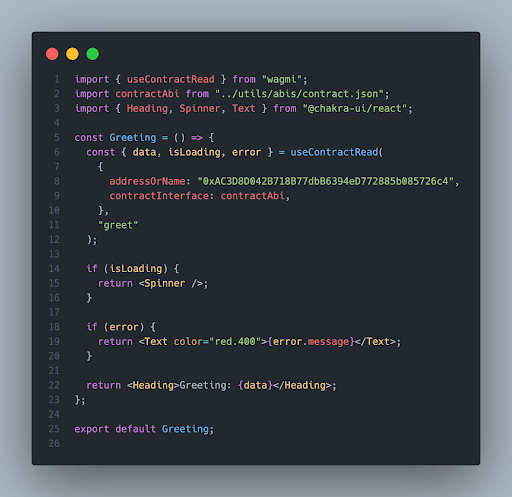
Now that I have everything I need, I can read from the blockchain. Since the contract is about greetings, I created a “Greeting” component that will show the greeting on the screen.
As you can see below, I use the “useContractRead” hook to which I pass these details:
- the address of the contract
- the ABI
- the name of the method
The hook will return:
- if the reading is loading
- any error during reading
- data if the reading is successful
When the reading isn’t loading, and there are no errors, I get the greeting from the contract.
For each case, I show different things, as you can see.
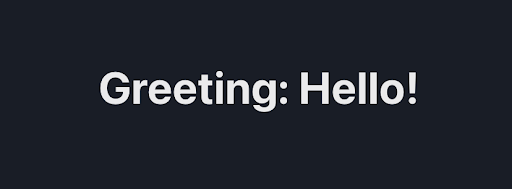
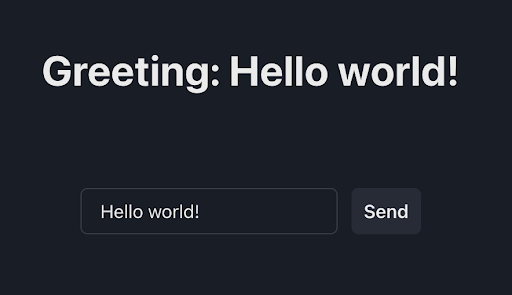
The moment the reading is complete, it’ll show the greeting like this:
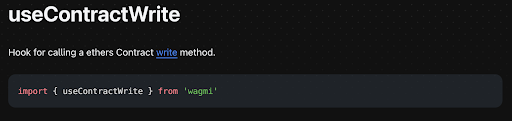
Writing On the Blockchain Using Wagmi
For the most part, writing on the blockchain can be just as easy as reading. I’ll use the “useContractWrite” hook (the most common method to write on the blockchain using Wagmi), and create a “ChangeGreeting” component that will have an input and a “Save” button.
I created a “greeting” state where I’ll store the input. Like the reading part, I’ll now use the “useContractWrite” hook, which takes the same parameters, but also returns a “write” function which I’ll call on a button click.
As you can see in the “changeGreeting” function, the write function takes an array of arguments. Since the function I want to call has only one argument, I only pass the “greeting”.
You can call that function when you click the button. MetaMask will open and ask you to sign the transaction. After the transaction gets mined, you can refresh the page to see the new greeting.

This is how it looks:
Extra Options to Refresh Blockchain Data
Now you know how to read and write on the blockchain. Interested to know a simple way to refresh the greeting without reloading the page? There are actually multiple ways to do that, but here’s a simple one.
You just have to set the following two extra options in the “useContractRead” hook:
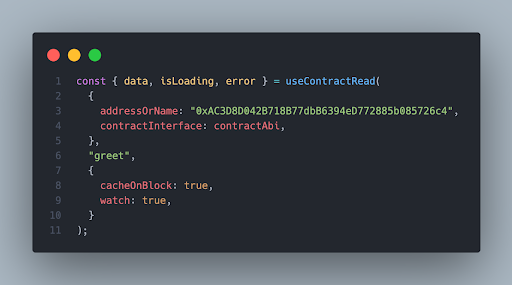
Watch, and cacheOnBlock will make it so the data refreshes every time a new block is mined. There are two downsides to this situation: the first one is that blocks are mined fast. The loading spinner will show every few seconds with the current code, even if the greeting hasn’t changed.
The second downside occurs when you refresh the data more often than needed, which can lead to many RPC requests.
There’s another efficient way to refresh data. Just to give you a hint, it involves events. I’ll reveal the tips in a future post.

 Solving Ethernaut Level 29: Switch
  How to Double-Check Smart Contract State Changes with Hardhat Tasks