As a developer, you know the frustration of spending hours trying to find the right configuration so that everything works flawlessly for a React app.
Next.js makes your life easier since it’s a React framework that comes out of the box with many helpful features like:
- server-side rendering
- smart bundling
- route prefetching
- file-system routing
- image optimization
When it comes to Wagmi, this React library covers a collection of React Hooks, which makes it easier to work with most EVM-compatible chains. This library is highly maintained and constantly updated, with new releases every week.
Wagmi React Hooks had multiple big releases over the past 2-3 months, making this library easier and more intuitive to use. The version of the library I’ll use for this tutorial is v0.4.3 (the latest version at the moment of writing).
Creating a Web3 App Project from Scratch Using React
First off, you need Node.js 12.22 or later installed.
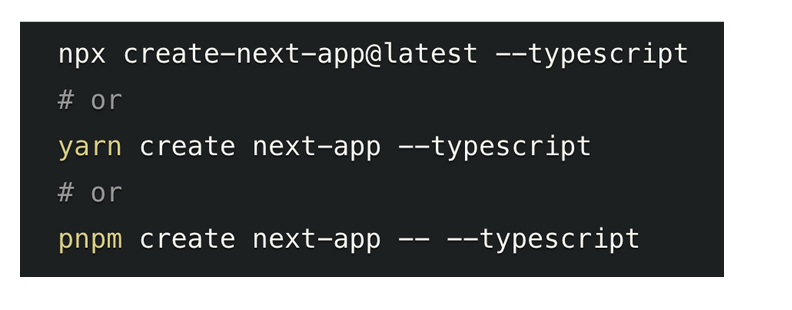
The next step is creating a Next.js project by running the following command in the Terminal:
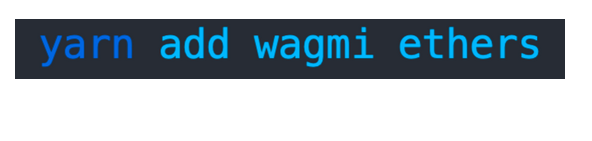
Run the following command to install Wagmi and Ethers:
Create the Configuration
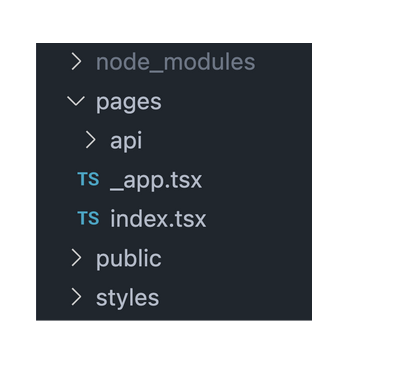
This is the current file structure of the project. The pages folder also serves as the routing system. The file “_app.tsx” is wrapping each routing file (e.g. index).
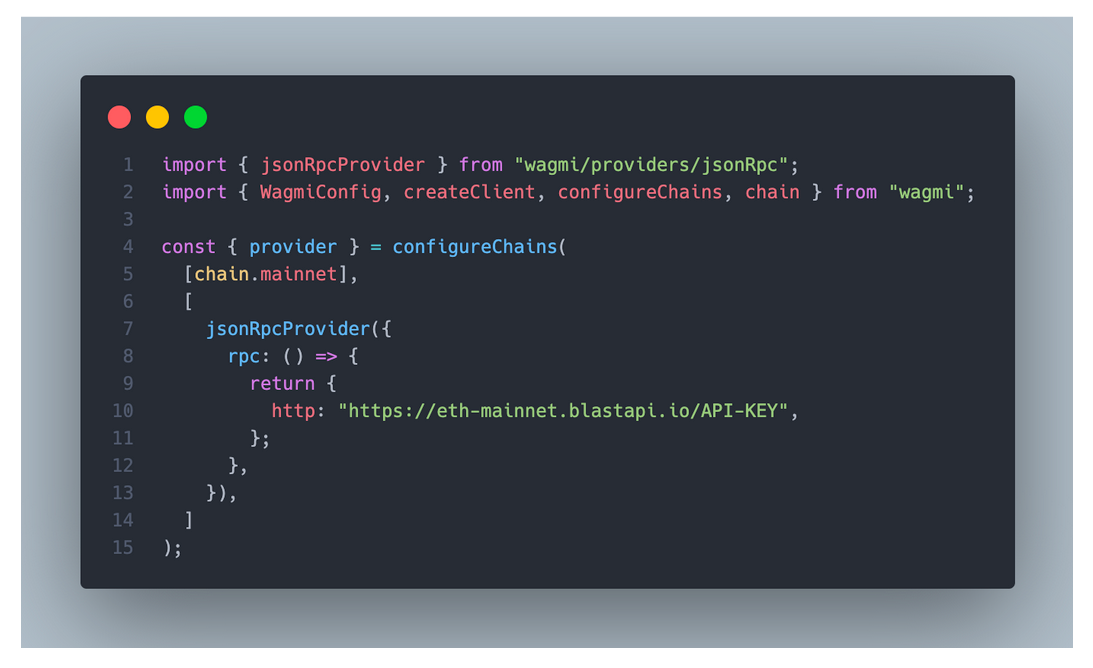
First, you need to configure the supported chains your app will use. For this tutorial, I’ll use mainnet.
You should also configure the JSON RPC your app will communicate with, so you can set the connection between the server and the node wallet.
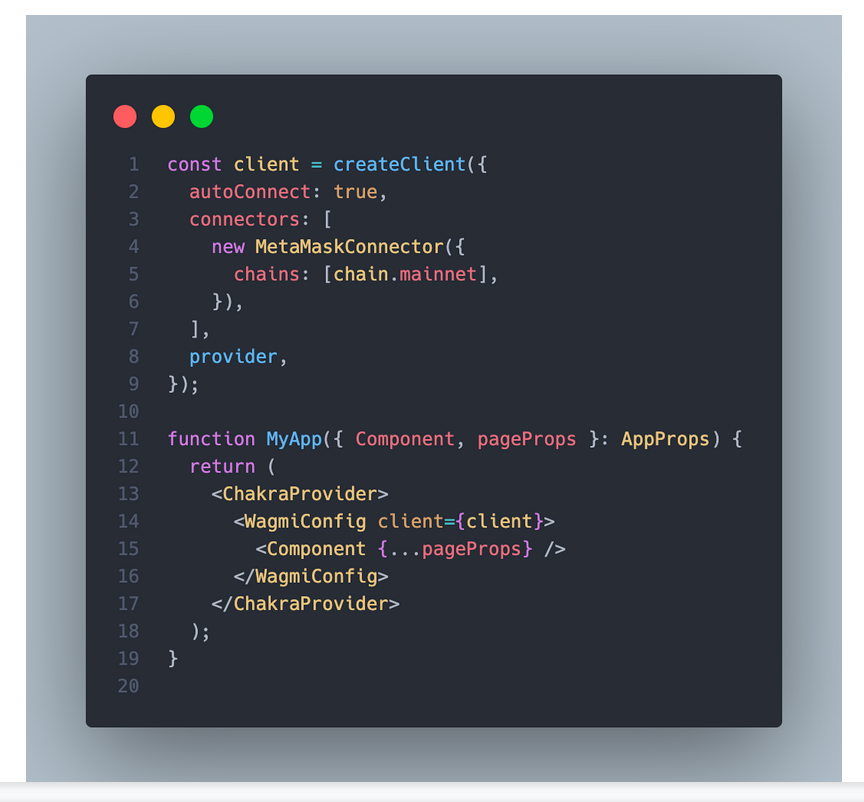
You need to create a client-connection channel to a web3 provider to achieve this. As a side note, we currently support only MetaMask, but you can try with CoinBase Wallet, Wallet Connect, or other wallets.
Lastly, connect the client to the “WagmiConfig” provider, which will allow you to use the hooks anywhere in your app.
Also, I added Chakra UI to do some quick and nice UI, but you can use any UI library as it has no impact.
Connect the React App to a Crypto Wallet
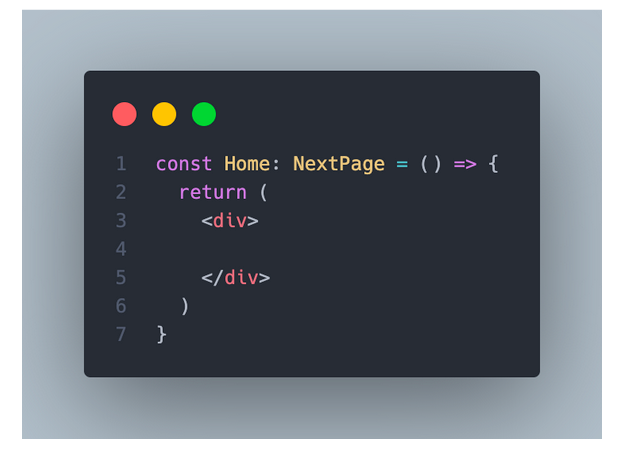
You can delete most of the stuff in “index.tsx,” so it looks like this:
To connect to the MetaMask wallet, I’ll use the “useConnect” and “useDisconnect” hooks.
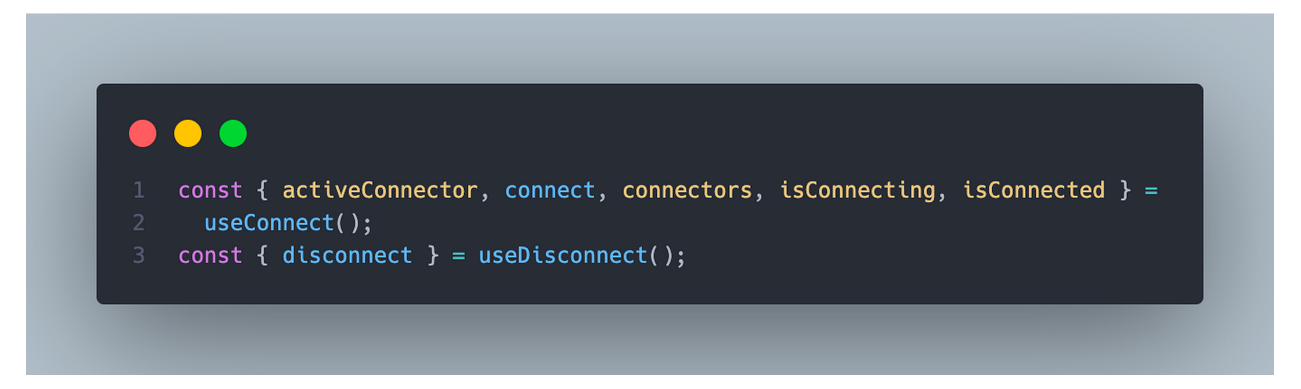
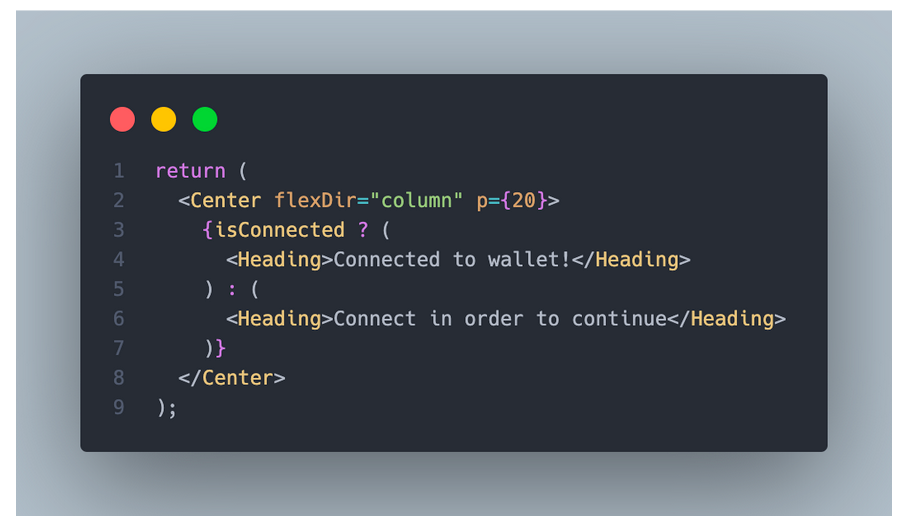
I’ll show the connected status by doing this:
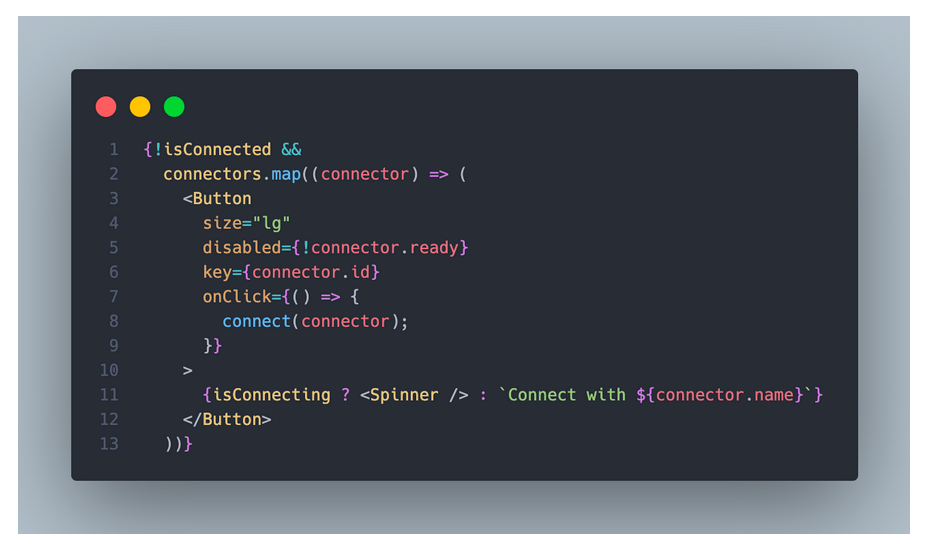
If the user isn’t connected, you’ll see a button for each connector configured previously. The showcased example with only one connector (MetaMask) will show only one button.
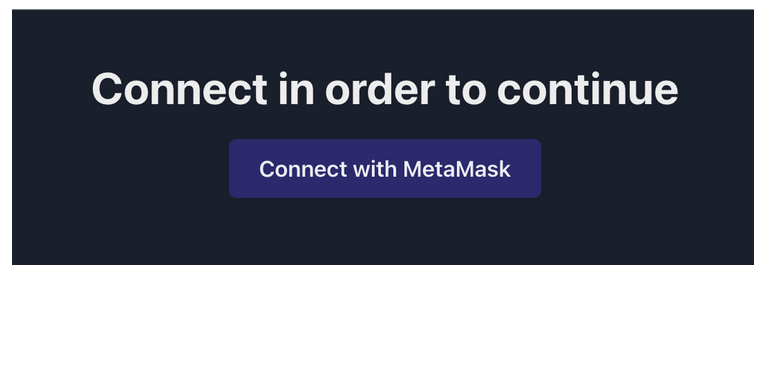
The app will look like this.
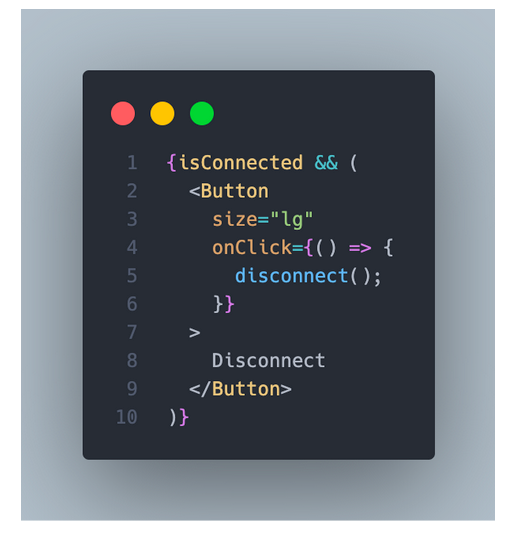
After you press the connect button, MetaMask will pop up, asking you to connect your wallet and also show the ‘Disconnect’ button.
If the user is connected, MetaMask will display a ‘Disconnect’ button.
More to Come on How to Build Web3 Apps
That was the final step; you connected your web3 app to a crypto wallet. In our next posts, we’ll explain how to communicate with a smart contract, listen to events, and much more.
Stay tuned!

 Solving Ethernaut Level 29: Switch
  How to Double-Check Smart Contract State Changes with Hardhat Tasks